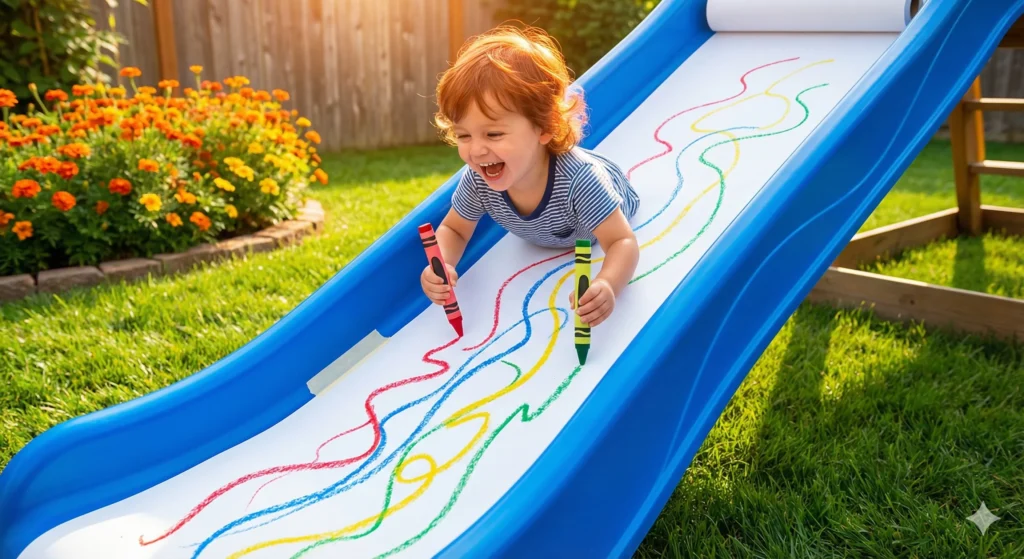
Have you ever watched your child zoom down a slide and wondered how to capture that pure, high-speed joy on paper? [Emotional connection] There is something absolutely exhilarating for a toddler about combining the physical rush of a slide with the creative spark of drawing.. This “Crayon Slide” activity turns a standard piece of playground equipment into a giant, gravity-powered canvas.. It is more than just a game; it’s a way for your little artist to see their own movement transformed into vibrant, squiggly masterpieces in real-time. [Emotional resonance].
Your Toolkit for High-Speed Art
Gather these simple supplies to turn your slide into a studio:
- A Slide: This works perfectly with a backyard slide or even a small one set up indoors..
- Paper: Use a long length of newsprint or a roll of craft paper..
- Tape: Sturdy tape to keep your canvas secure..
- Crayons: Grab a variety of the big ones in bright colors..
- Rubber Bands (Optional): For a “multi-color” effect..
Ready, Set, Draw!
- Prep the Canvas: Use your tape to secure a long length of newsprint or paper directly onto the surface of the slide.. Make sure it’s smooth so the crayons can glide easily.
- The Two-Handed Technique: Give your child one or two crayons—one for each hand is a great way to encourage coordination!.
- The Big Descent: Have your child sit at the top, press their crayons to the paper, and slide all the way down..
- Review the Masterpiece: They will love looking back up the slide to see the wild, squiggly lines and unique designs they just created with their own body weight..
- Color Shift: Change out the colors and keep the sliding fun going until your little one is ready for a nap..
Brain Sparks: Physics in Motion
This activity is a fantastic “Little Hands, Big Skills” moment.. As your child slides, they are experiencing the forces of gravity and friction firsthand. They’ll quickly notice that if they press harder, the lines get darker, and if they go faster, the lines get longer.. To add a layer of discovery, try bundling three or four crayons together with a rubber band.. This “rainbow effect” shows them how multiple points of contact create complex patterns, turning a simple slide into a lesson in cause and effect.
Cleanup & Setup: Stress-Free Art Tips
The last thing you want after a day of Fresh Air Fun is a permanent reminder of the activity stuck to your backyard slide. To keep your equipment in top shape while the kids enjoy their Crayon Slide creations, follow these quick tips for a seamless setup and teardown:
- Choose the Right Tape: Use painter’s blue tape or masking tape whenever possible. These are designed to be removed without leaving a sticky mess, unlike duct tape or heavy-duty packing tapes.
- The “Sun” Factor: Try to remove the paper and tape as soon as the activity is finished. If tape sits in the hot sun for hours, the adhesive can bake onto the plastic or metal surface of the slide.
- Easy Residue Removal: If you do find a bit of sticky residue left behind, don’t scrub! A small amount of vegetable oil or warm soapy water on a soft cloth will usually lift the adhesive right off without scratching the slide.
- Test a Corner: Before taping down a long length of newsprint, test a small piece of tape on an inconspicuous part of the slide to ensure it peels off cleanly.